This instruction guide is designed for current consultants to setup a ‘virtual shop’ or POS (point of sale) system. This version uses the iPad version of the software.
How the system looks on the front-end
Throughout this guide, we’ll refer to the system as a POS (point of sale). If you’ve ever worked in a retail shop with a touch screen system, you’ll be familiar with this – however if you haven’t, below is an example of how simple it is to use.
Point of Sale system
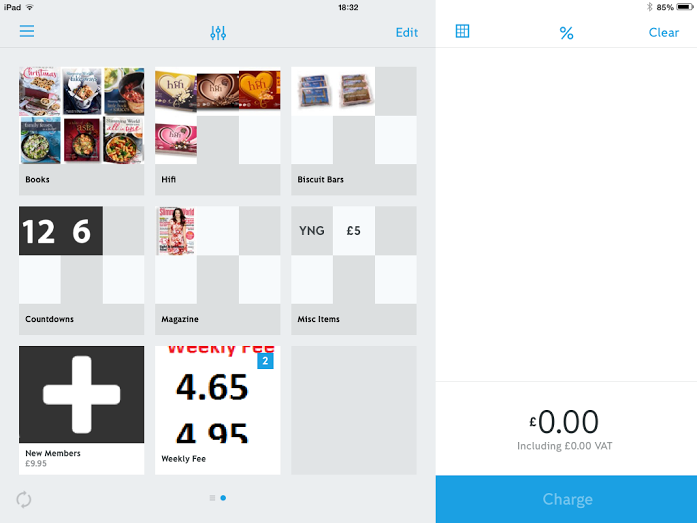
The shop to the front end cashier or user looks very simple to use. You can add different products, update the settings and delete them within the management system at www.izettle.com (this is shown later).
To make things as simple as possible, we’ve included items within folders, therefore the books as all in one place, Hifi bars are in another, etc.
Let’s have a look at the Hifis. To enter this, you’d simply tap on the folder itself.
iZettle Folder – Hifi Bars
 As you can see, within this folder there are currently 4 different items and the corresponding image. The price and name is also underneath each item.
To add the items to the member’s order, simply tap the image and it’ll be added to the list on the right, with a running total at the bottom.
Checkout

A list of products which are being charged is shown down the right hand side of the screen.
You can remove, or edit any item by tapping on the name
Checking out is simple – once the products have been added, you can simply click ‘charge’ and the bluetooth-enabled chip and pin machine will prompt for the member’s card.
Adding, updating and removing products
The above images were taken on 17 March 2015, and at this time we didn’t have an option for Rhubarb Hifi bars. As such, we’ll add them to the system on the next page…
How to add, update or remove items